Welcome to the Tulane Annotation Guide
Thank you for your participation in this multi-institutional study. This guide is intended for collaborators with Tulane University on studies involving annotation of whole-slide histopathology images. This guide will serve as both a tutorial on how to perform annotations in the annopath.tulane.edu platform, as well as guidance on how those annotations should be structured.
User Account
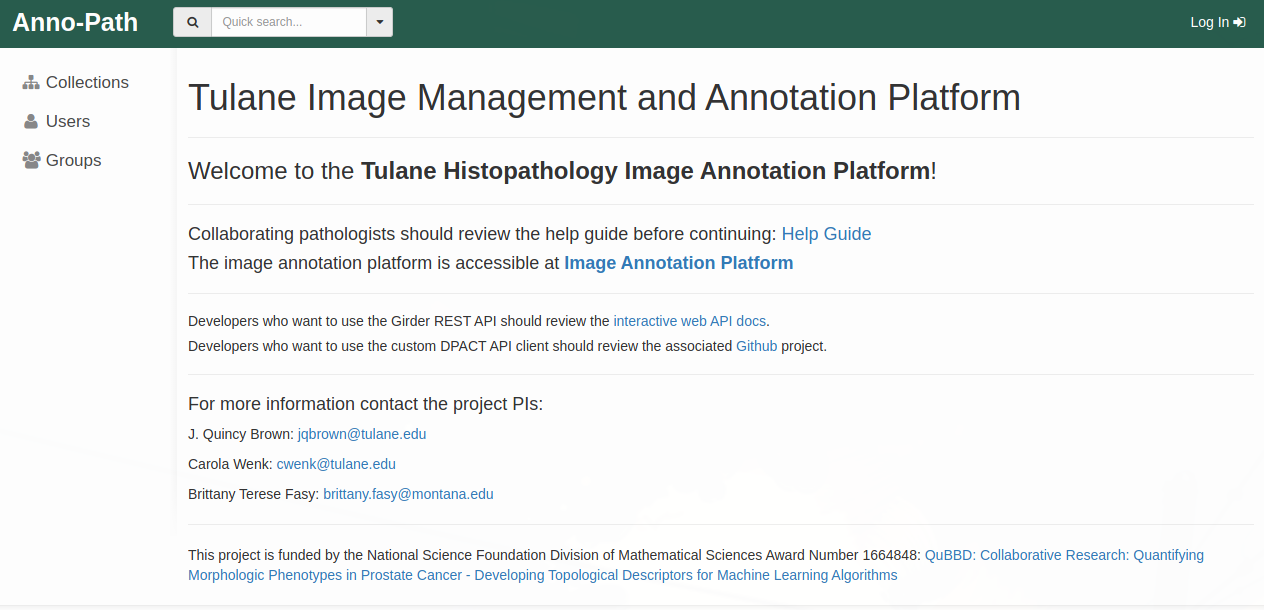
You will have received a username and password for the annopath.tulane.edu platform. To login please follow the Register or Log In link in the top right of the home screen, as shown below.
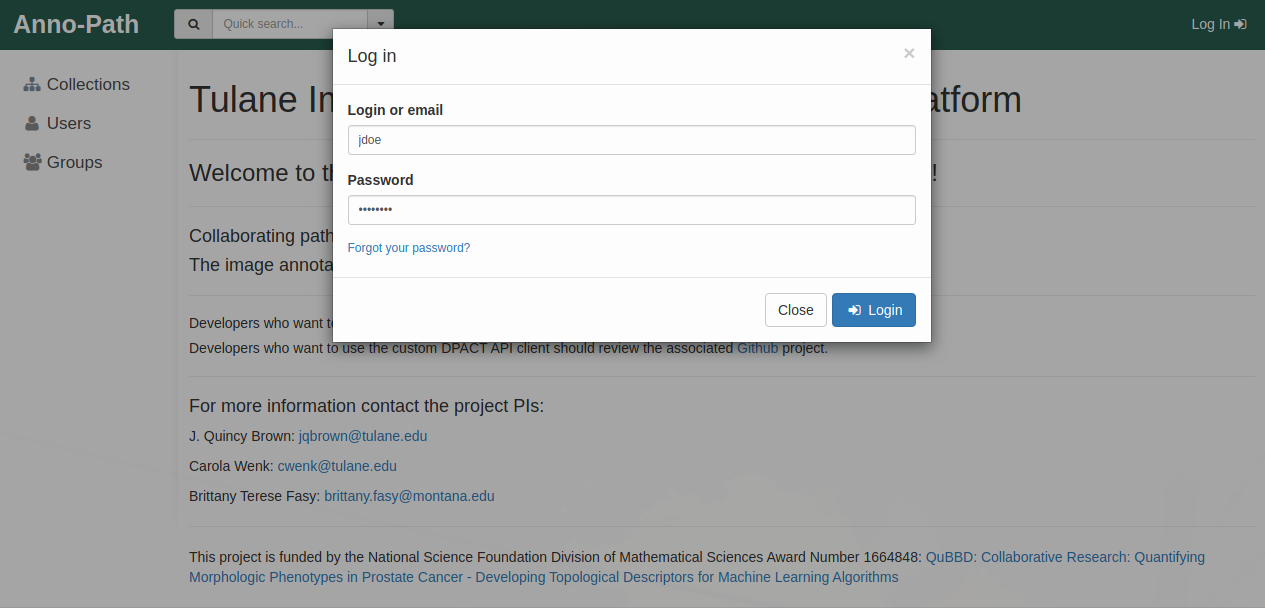
A login prompt will display, where you can login with your provided credentials. If you do not currently have credentials, or have forgotten your credentials, contact one of the project PIs.
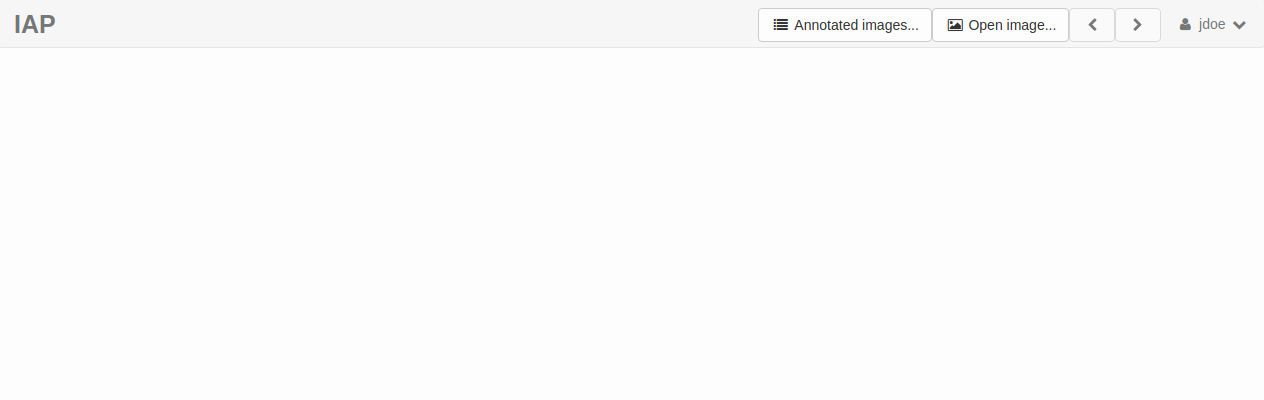
Upon successful login please follow the link to the Image Annotation Platform. If successful you will see a screen similar to that shown below:
Select an Image for Annotation
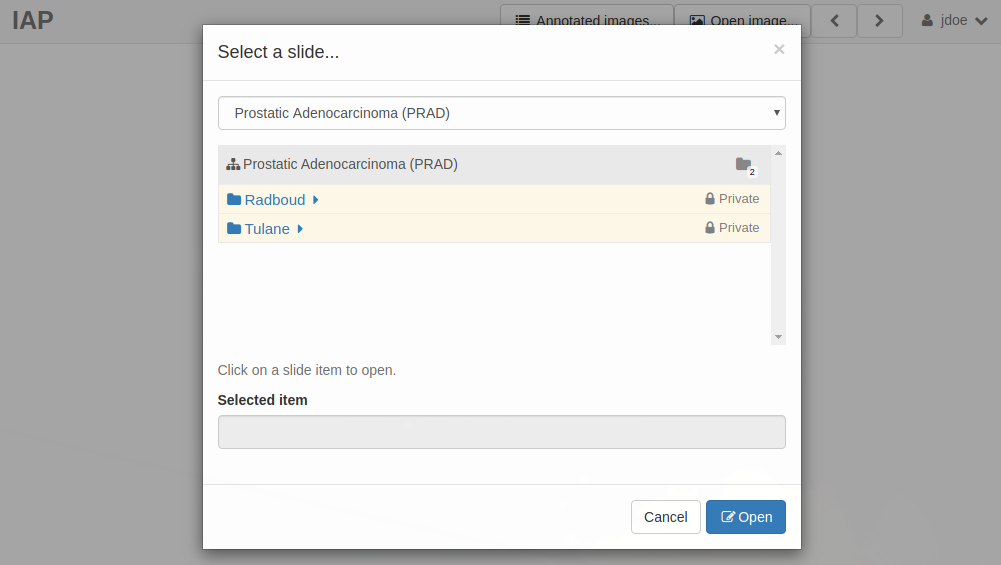
Select the Open image.. prompt at the top of the header bar. A Select a slide… pop up prompt will open, as below:

Begin by selecting the relevant collection of images you will be annotating. In this example we select Prostatic Adenocarcinoma (PRAD) cases, which contain images in folders by institution. Select the institution that you will be annotating images for. In this example we will select Radboud for University Medical Center Radboud.
When selected, a thumbnail display of all images within that folder will display, as shown below:
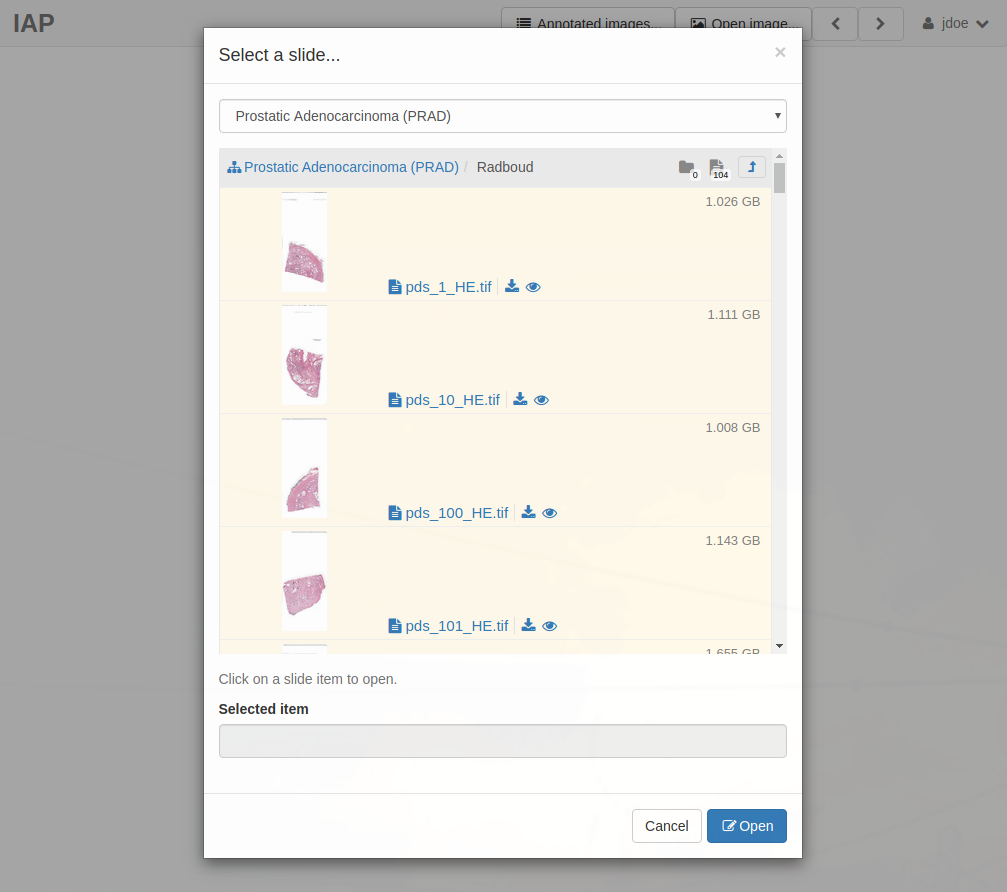
Select the first image you intend to annotate, then select Open. In this example, we will select the first image in the list, pds_1_HE.tif. This will open a whole-slide image viewer, as shown below:
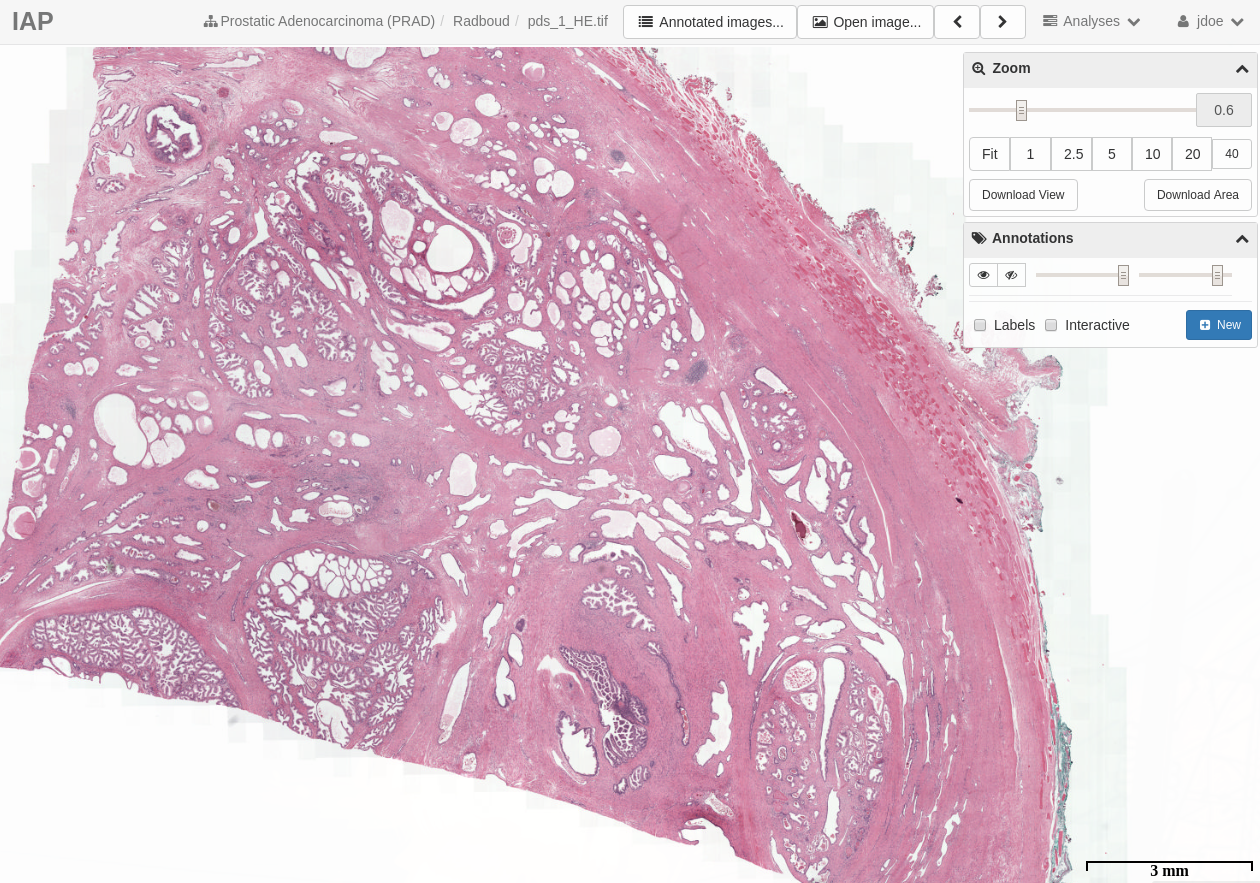
We are now ready to begin our first annotation!
Annotating Images
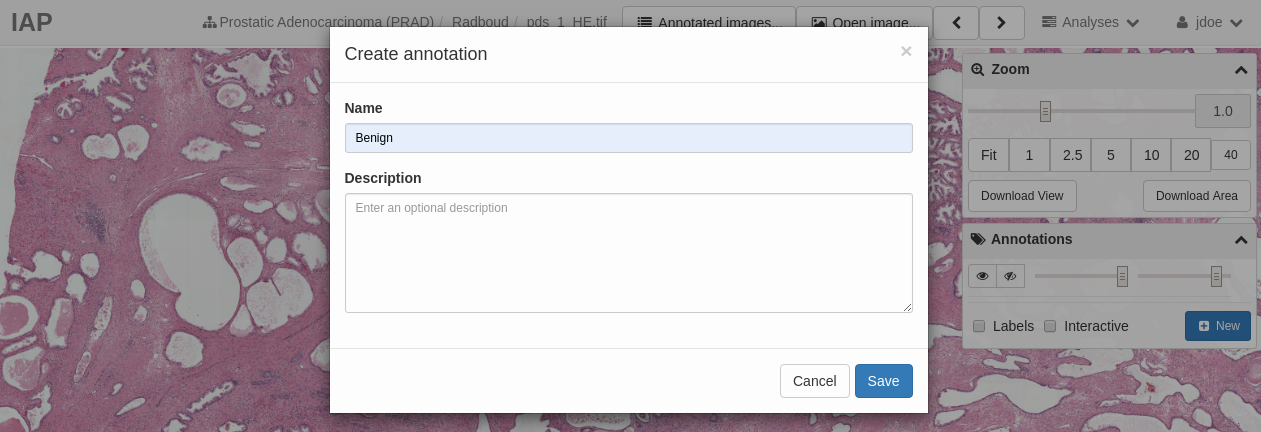
In the Annotations toolbox (the second toolbox on the right of the screen) select New. This will open the Create annotation prompt below.

Each annotation actually represents a collection of annotations. In this way you can associate multiple annotations with the Name you provide. In this example we will create a Benign annotation, and then we will annotate multiple benign regions, which will be linked to that Benign annotation. This may seem confusing at first, but it will become clear with the following examples. First we type Benign into the Name field for the annotation. There is no need to provide additional description. Then select save to create an annotation collection called Benign.
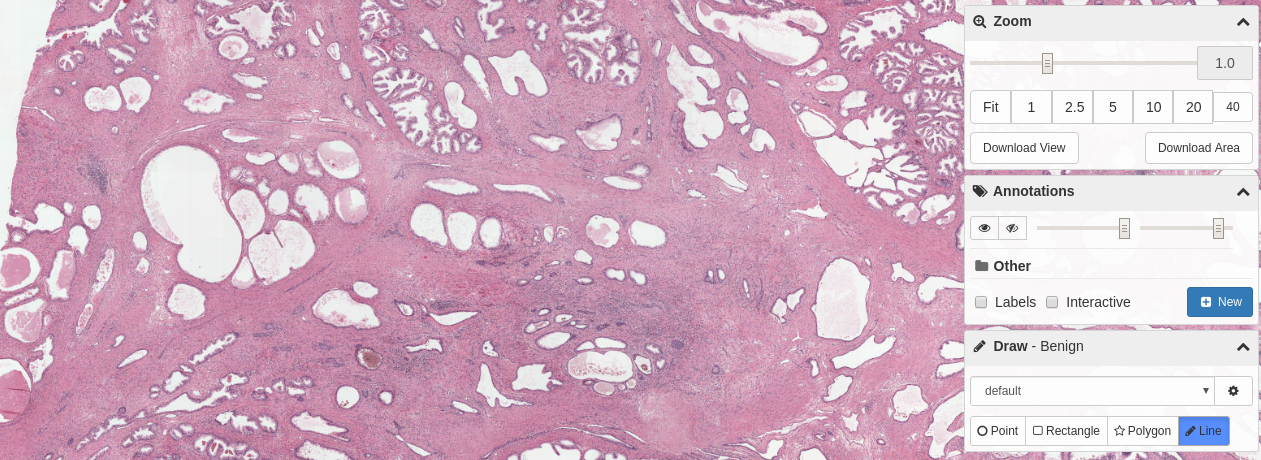
Once the Benign annotation collection is created you will see a new toolbox, Draw, appear as the third toolbox on the right of the screen, as shown below:
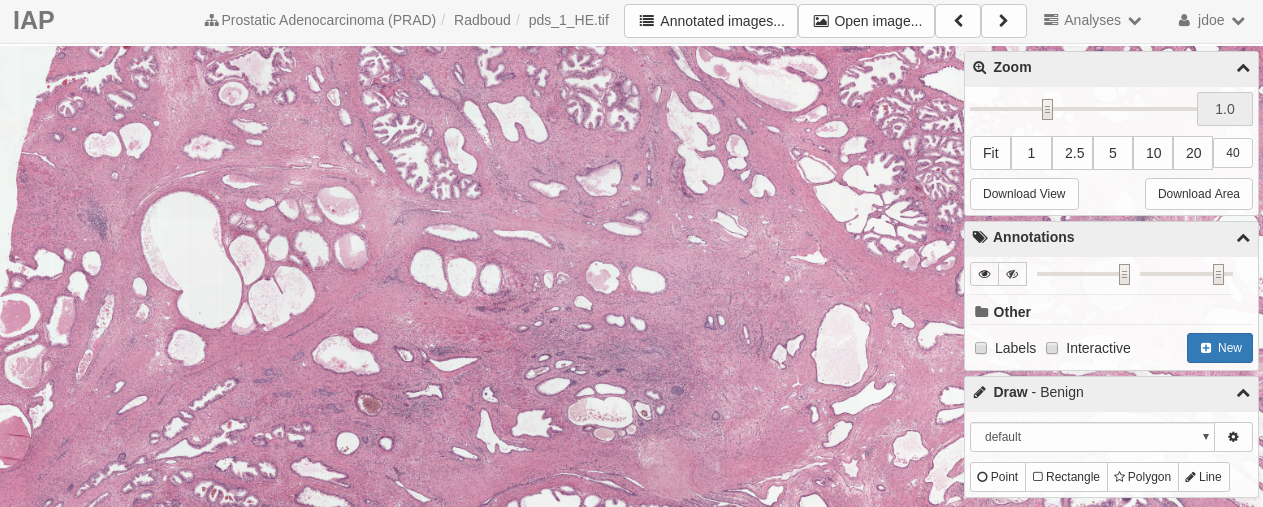
The Draw toolbox has four annotation options: Point, Rectangle, Polygon, and Line. We as that you restrict either Polygon or Line. If operating on a computer with a mouse or trackpad then Polygon will be the easiest to use. If you were issued a tablet and stylus for the study on which you are collaborating then Line will be the easiest to use. For this example we will assume you are using a tablet and stylus, and use Line. Select the Line option in the Draw toolbox. The Line field should be blue, and your cursor will have now switched from an arrow to a crosshair:
To annotate with a mouse click once and hold as you draw around the region you are annotating until you reach then end, then click again to connect the beginning of the annotation with the end of the annotation. If successful the annotation line color will change from blue to yellow indicating a new annotation was created, and a new polygon (associated with the Benign annotation group) will appear at the bottom of the Draw toolbox, as shown below:
Congrats! You have successfully created an annotation! To stop annotating click the Line option to disable it. To create another Benign annotation associated with the Benign annotation collection ensure that the Line option is enabled, then create another annotation. In this example we will create a second annotation in the same way we created the first. Upon creation of the second annotation you will see that a new polygon is added to the list in the Draw toolbox, as shown below:

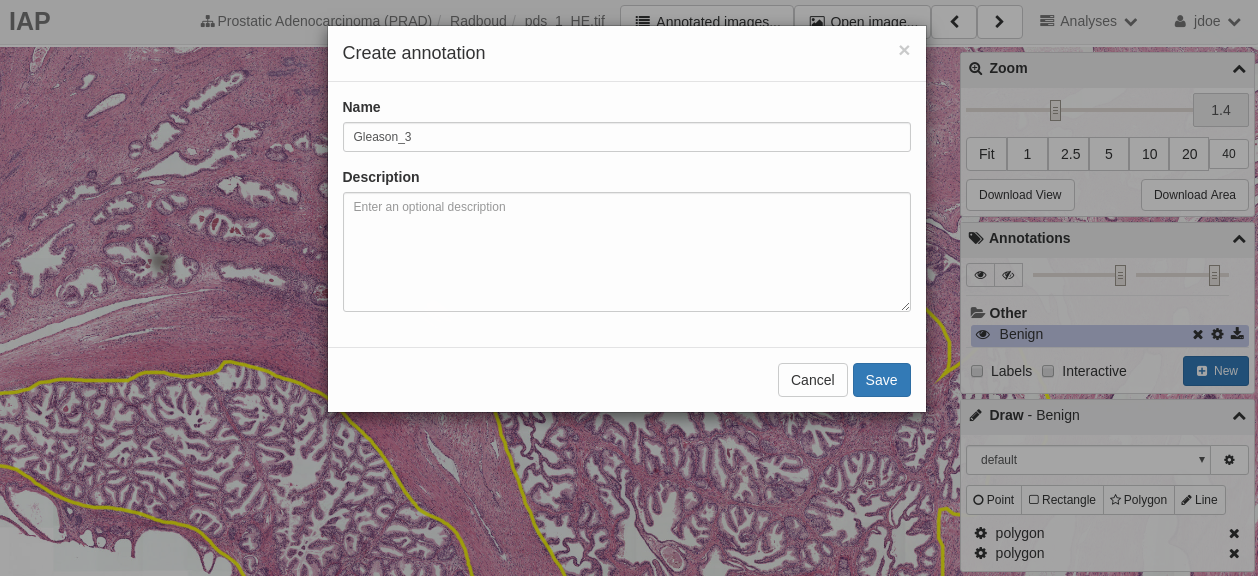
At this point we have only added annotations of one class, benign. Lets add another class of annotations, Gleason 3. To do this ensure that Line is not selected. Then, in the Annotations toolbox select new. Finally type G3 into the Name field, and select Save.
You should now see a new annotation collection, G3, shown in the Annotation toolbox under Benign.
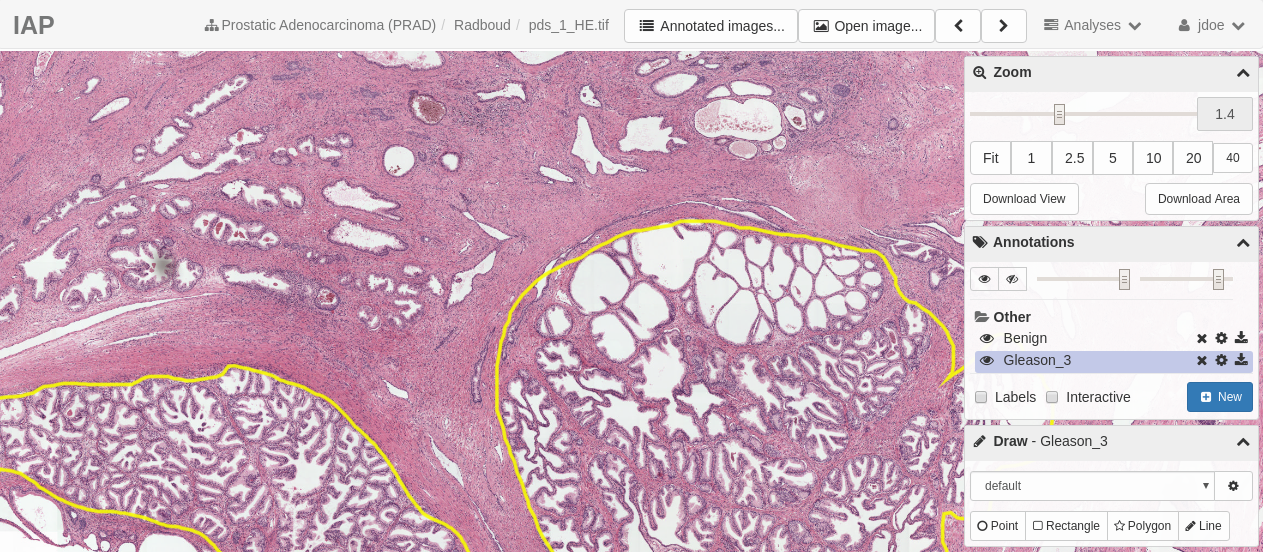
Notice that the G3 field is highlighted in the Annotations toolbox. The Draw toolbox creates annotations for the currently selection annotation, so the Draw toolbox will create new G3 annotations as long as it is selected.
Tip:
If you only want to look at one class of annotations at a time, you can use the eyeball to the left of the class in the Annotations toolbox to turn off visualization of those annotations. The annotations are still present, but this helps if you do not want to be distracted by one class of annotations, for example benign, while you are attempting to annotate another class, such as Gleason 3.
To create new annotations under the G3 class simply follow the instructions for creating new Line annotations for the Benign class.
Annotation Naming
Consistency in naming of annotations is vital to ensure that annotations can be extracted and used effectively. For the prostatic adenocarcinoma annotations must correspond to one of the following classes:
| Class Label for Name Field | Description |
|---|---|
| Benign | Normal tissue only |
| G3 | Pure Gleason 3 |
| G4 | Pure Gleason 4 |
| G5 | Pure Gleason 5 |
| BPH | Benign Prostatic Hyperplasia |
| HGPIN | High-Grade Prostatic Intraepithelial Neoplasia |
The Name field of any annotation collection created in the Annotations toolbox must match exactly one of the fields from class label, including Benign, G3, G4, G5, BPH, and HGPIN. Any annotated region must be comprised entirely of tissue matching the Name class for which it belongs.
Annotation Collection Editing
An annotation my be changed in two ways, edited or deleted. To edit an annotation select the gear icon to the right of the annotation collection name in the Annotations toolbox. An Edit annotation window will pop up where you may change the Name of the annotation collection, as well as edit the Description and line color and fill of the annotation collection, as shown below:
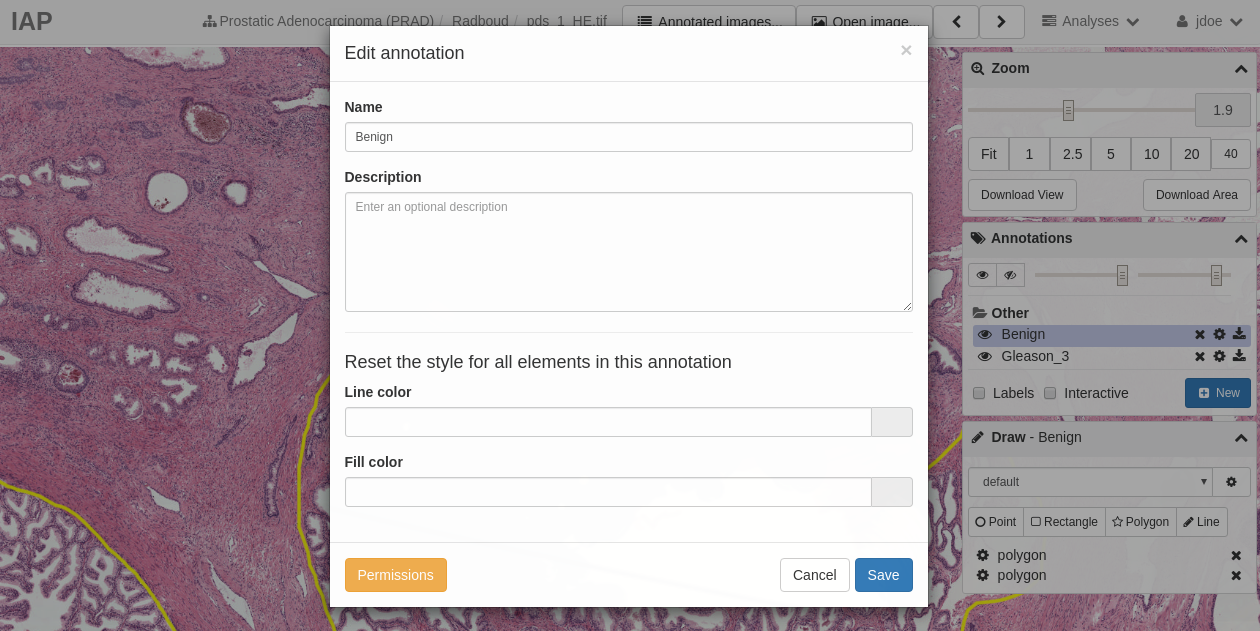
To delete an annotation collection (which will also delete all individual annotation polygons associated with it) click the x next to the Name in the Annotations toolbox.
WARNING: Editing the annotations in the Annotations toolbox will affect ALL individual annotations associated with that annotation collection, to include deleting them all. Exercise caution when editing annotations in the Annotations toolbox.
To delete only a single polygon (ie a single region annotated with a yellow line), select the x next to that polygon in the Draw toolbox when the relevant Name is selected in the Annotations toolbox.